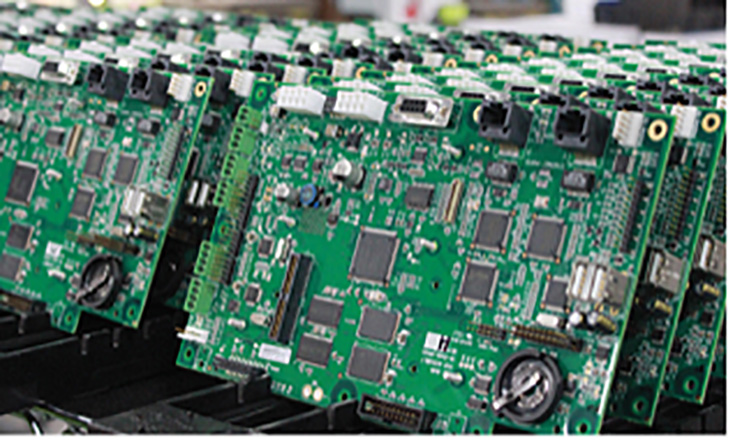
PCBs are connection-providing devices that have eased the transmission of signals between electrical components. It has revolutionized the industrial world by giving qualitative and optimum solutions. You can buy printed circuit boards from Shenzhen PCB manufacturer in different sizes, shapes, layers, and even weights, as you like.
Yet, some people want to cut the PCB after its manufacturing to adjust it according to the requirements. Several buyers have already tried cutting it at home, but it is challenging. So, we thought to outline the two main steps of cutting the PCB to alleviate your stress. This article highlights the procedure of cutting the PCB manually at any location.
Steps of PCB cutting:
The users, having a large printed circuit board, generally favor cutting it into the required size to operate it efficiently. Employing effective cutting strategies and tools can make it easy and affordable. The concerned workers cut the copper tracing and the glass plastic on the PCB. The two major steps of cutting the PCB are as follows, along with the required instruments for cutting the PCB.
- Cleanse the PCB before cutting
The experts recommend cleaning the board properly before cutting it to make it free of dust or residues. It is like cleaning anything before working on it. You can clean the PCB by wiping it with a neat cloth. Once you clean it, wear gloves to protect your hands from minor injuries or dust.
- PCB Cutting
Before starting, place the paper on the cutter’s surface if it is the tabletop paper cutter, or put it alongside the blade, if it is the table saw cutter. Avoid placing the board’s components under it to protect them from wearing away. Ensure that the PCB’s aluminum and copper base faces the surface. Hold the PCB from one side and cut it from the other, as you need. It is a short guide to cutting the PCB with the paper cutter.
- By using Dremel rotators:
You can also shorten the board simply by using Dremel rotators. It will require you to make the sharp outline on the PCB from where you want to cut. Use the mini table saw with the Dremel to cut the board. Start with separating the signal traces on the board cleanly. If you want to also make the holes on the PCB, drill them during the cutting. Clean the burrs and place the PCB components again at their places after cutting them to the desired length.
- With PCB cutting machine:
You can also cut the PCB with home-based cutting machines instead of advanced machinery. Employ a 12 volts DC motor drill with its bracket and adapter. You will also need a circular saw cutting blade. It requires more work and efficiency as you have to make the smooth-surfaced sliding mechanism, but once you do it, there is no comeback.
- PCB Sanding to furnish it
The next step after cutting the PCB is sanding it. It is significant to polish it after giving the board a good trim. The electricians generally rub a200 grits of sandpaper for buffing or polishing the board. It gives smoothness to the PCB’s edges. Dust off the residues or dust to embellish it.
Conclusion:
No one can disagree with the PCB’s benefits when you do low volume PCBA business. Yet, following the discussed steps can help you with your PCB anywhere you feel handy and comfortable. It further enables you to operate and care for your PCB, ensuring its quality and cleanliness. The electricians, manufacturers, and other electrical operators can also consider these steps to ease the struggle of cutting multiple PCBs almost daily.