D Link is one of the best brands out there offering network extenders and routers. However, the process of performing the D Link WiFi extender setup could be a bit intimidating. It confuses the users pretty easily. So, keeping that in mind, here are a few tips you can follow to complete the D Link WiFi extender setup process.
Get going through the below-mentioned keynotes to know about the extender setup. Not just that, a few hidden tips are also there to keep any issues at bay. Keep reading to know more about the D Link extender setup.
How to Do D Link Extender Setup?
Get PC Ready
Start your computer by connecting it to the electric board. Turn on the PC by pressing the power button. Before initiating the process, ensure that the power cable is tight and without any cuts. Otherwise, your computer might keep turning off during the setup process.
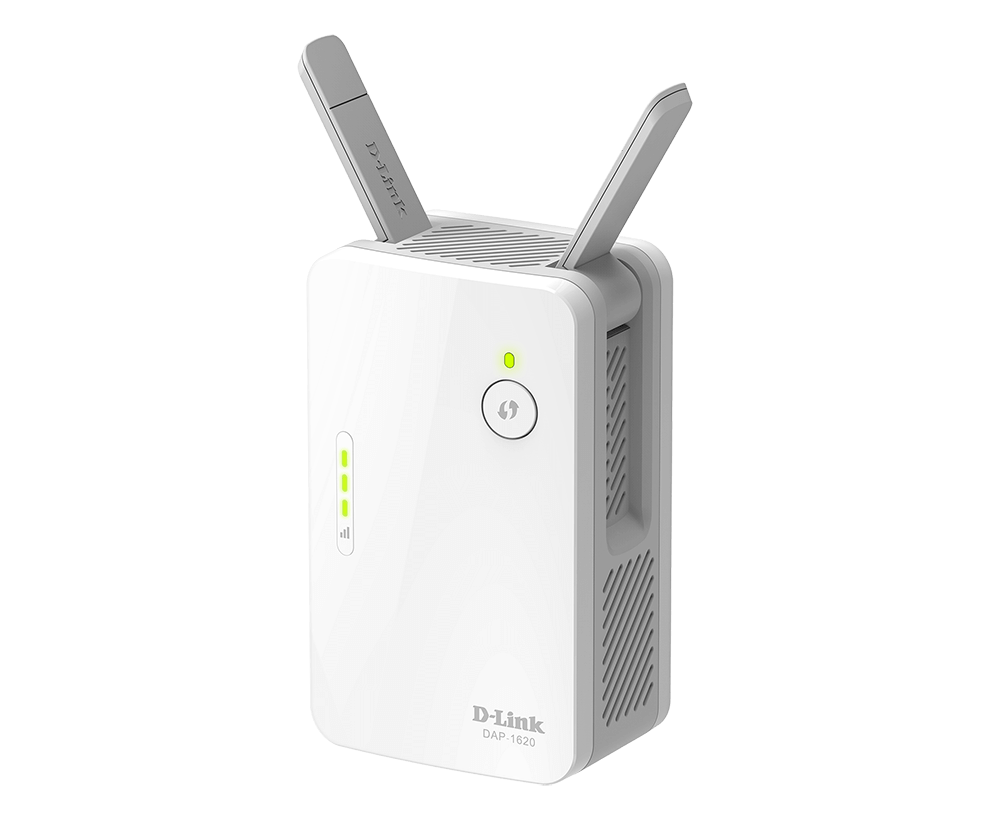
Prepare D Link Extender
Get out the D Link extender from the box. Adjust the attached antennas to prepare for the D Link extender setup. Furthermore, plugin the extender to a power source to turn it on. Check out whether the Power LEDs are turned on or not. If not, change the switchsboard.
Connect Extender to Router
Once the D Link extender is turned on, connect it to the router network. This is done to extend the current WiFi network. Without connecting the extender to the router, you don’t have the access to the current WiFi network. So, it is a crucial step that you cannot skip.
For a stronger connection, you should use a cable connection. However, that is not compulsory. You can even connect them wirelessly. Just ensure that the extender has a consistent connection to the internet. Otherwise, the setup process won’t be complete.
Access Web Browser
Once you are done with setting up the extender, turn to your computer. Open a web browser and enter the default web address. If you have no idea what that is, check out the official manual that you got with the extender.
Make sure you enter the web address in the address bar only. If you enter the web address in the search bar, you might end up getting other results. So, to reach the destination, you must ensure the web address is entered in the right place.
Enter Default Web Address
The only default web address should be entered in the web address. In any case, you don’t know about it, you can use the IP address. It takes you directly to the login web page. So, it becomes a lot easier for you to access the login dashboard.
Just like the web address, the IP address must also be typed in the address bar. Otherwise, the process might take longer than expected time.
Type in Login Details
Do you remember your default login credentials? If yes, great! You can enter them in the login portal. In case you are not aware of them, check out the manual or the card you got with the extender. Using the default login details helps you get logged into the extender.
Explore Configuration Page
After logging into the extender login account, you get access to the configuration page. You can change the settings of the extender from this page. Furthermore, get through the steps that you come across on the web page.
Click Finish
Once you are done with the basic settings, click the Finish button. With that, your D Link extender setup is complete. After this, place the extender from where you wish to eliminate the internet dead zones.
Wrap Up
Apart from using a computer, you can even download the official mydlink app. It makes the setup process easier. Now you can stay connected to the outer world without experiencing any fluctuations in the network.