Dogs have been around for ages and have been known to be man’s best friend. This is usually because they enjoy and attribute much importance to their interaction and contact with humans. Consequently, humans have adapted to living with dogs —not figuratively, for many reasons.

Source: Pixabay
Dogs have also been known to prove themselves useful, especially to owners. Right from time, most dog breeds were used as working dogs, which helped them become more assertive and versatile in various aspects. On the other hand, Man has also become reliant on this feature attributed to kennels and has engaged them in multiple activities such as carting, herding, guarding, etc.
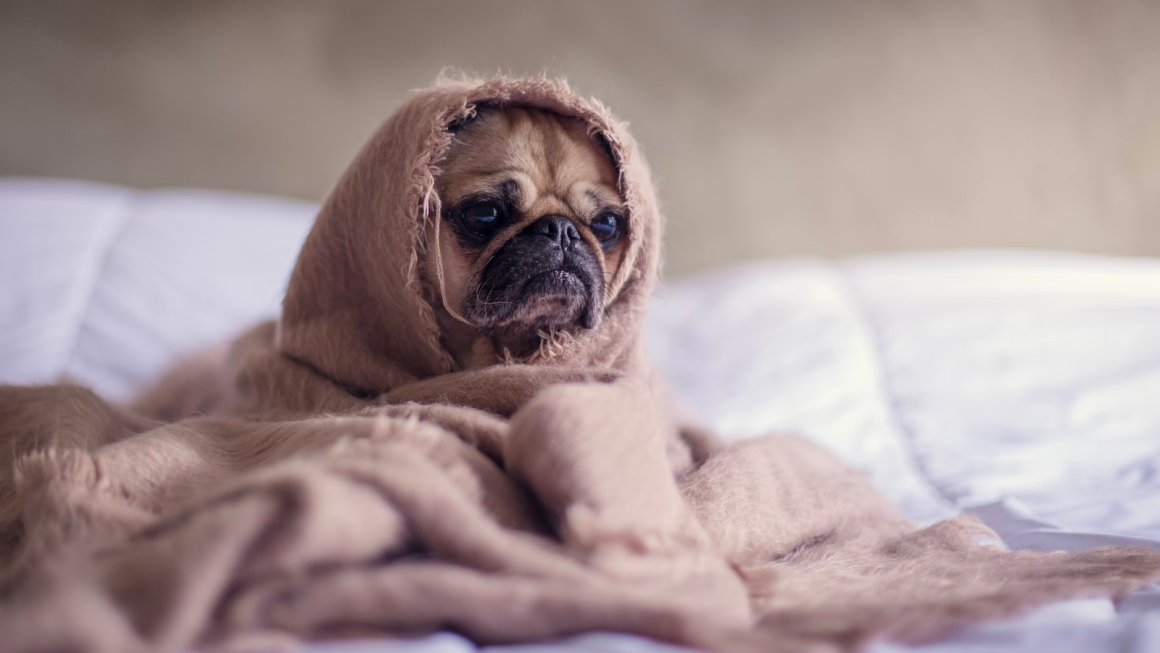
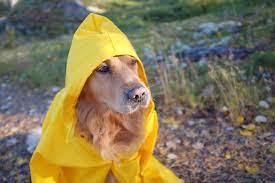
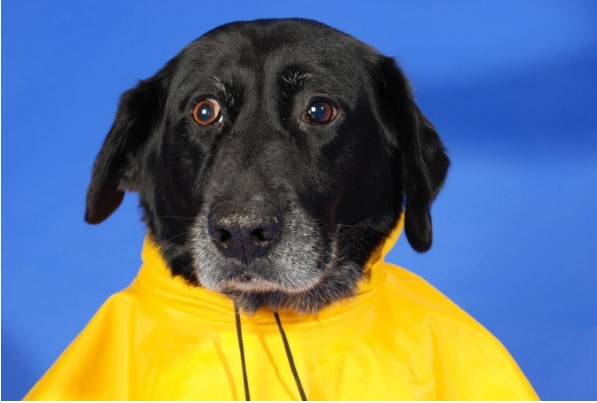
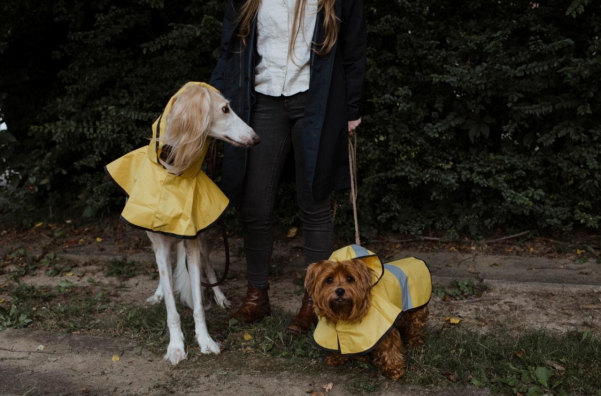
It is common to notice their fur adapt to weather conditions, and some harsh weather conditions could adversely affect the fur of these kennels and their health at large. Hence, it is not out of place to find dog owners seeking artificial protection for their dogs’ fur to protect them from different weather conditions. An example of this protection is artificially-made rain jackets for dogs. The rest of the article will outline easy and simplified Do-It-Yourself steps on making raincoats for dogs. Continue reading!
How To Make A Rain Jacket For Dogs
Animal jackets efficiently preserve the essential oils produced by the oil glands and contained in the dog fur that helps keep the dog’s skin and fur waterproof. There are many tutorial videos on making waterproof dog raincoats. Still, most of these guides fail to simplify these procedures and make it easy for amateur dog owners to know how to DIY these raincoats for dogs, hence this article.
The rest of the article will outline easy and simplified Do-It-Yourself steps on making raincoats for dogs. Follow these steps below to create a rain jacket for your dog with materials that can be found in almost all homes.
Materials Needed in Making a Rain Jacket for Your Dog?
When producing a rain jacket for dogs, just a few steps are required. Let’s start by listing the equipment and materials needed for this procedure.
1.) A pair of scissors
2.) A plastic bag —one that is relatively bigger than your dog.
3.) A roll of ribbon
This guide presents an inexpensive way to do this yourself and still protect your dog from the rain. That way, you do not need to break the bank to access high-grade equipment and machines to DIY raincoats for your dog.
You can now make the raincoat using these available materials following the steps below.
Firstly, you will have to place the plastic bag on a flat surface and label the top part of the bag as Side A —the part of the bag with the handles. Next, mark the sides of the bag as Sides B and C, respectively. Then go ahead to label the bottom of the bag as Side D. You can either do this mentally or physically.
Done? Let’s continue!
Step 1: Trim the plastic bag’s length to fit your dog’s length since this is the essential material that will form your dog’s raincoat. To do this, lay the plastic bag on a flat surface, then use the scissors to trim it by cutting off the top part of the bag —the part that has the handles. You do this by cutting a straight line from Side B to Side C.
If done correctly, the part of the bag that has the handles will successfully be removed, leaving you with four straight sides. The length of the plastic bag should be a little longer than your dog’s torso by a few centimetres after trimming is done.
Step 2: Next, cut out either Side B or Side C of the plastic bag. This is to make it possible to wear this coat on the dog. As a guide, you are required to cut out this part of the plastic bag in a straight line from Side A to Side D. This should leave you with two sealed sides —and two unsealed sides as well, on your plastic bag.
Step 3: Thirdly, cut out the corner of the sealed part of the bag. This is to fit in your dog’s head to wear the raincoat properly. You are to cut out this part diagonally, i.e. from Side D to Side B or from Side D to Side C. The piece you cut out should be triangular. If done correctly, your plastic bag on the flat surface should now have five sides.
Step 4: Lastly, slide your new homemade raincoat over your dog’s head, fitting its head into the space created by the diagonal cut previously made. Then adjust the rest of your coat over your dog’s torso and gently tie a ribbon over it to keep the raincoat in place. Viola! You now have a raincoat for your dog.
Final thought
Now that you know the steps for creating waterproof raincoats for your dog go ahead and make one for your furry canine friend. Remember that it’s to protect their fur from harsh weather conditions, and who says dogs too can’t step out in style!
References