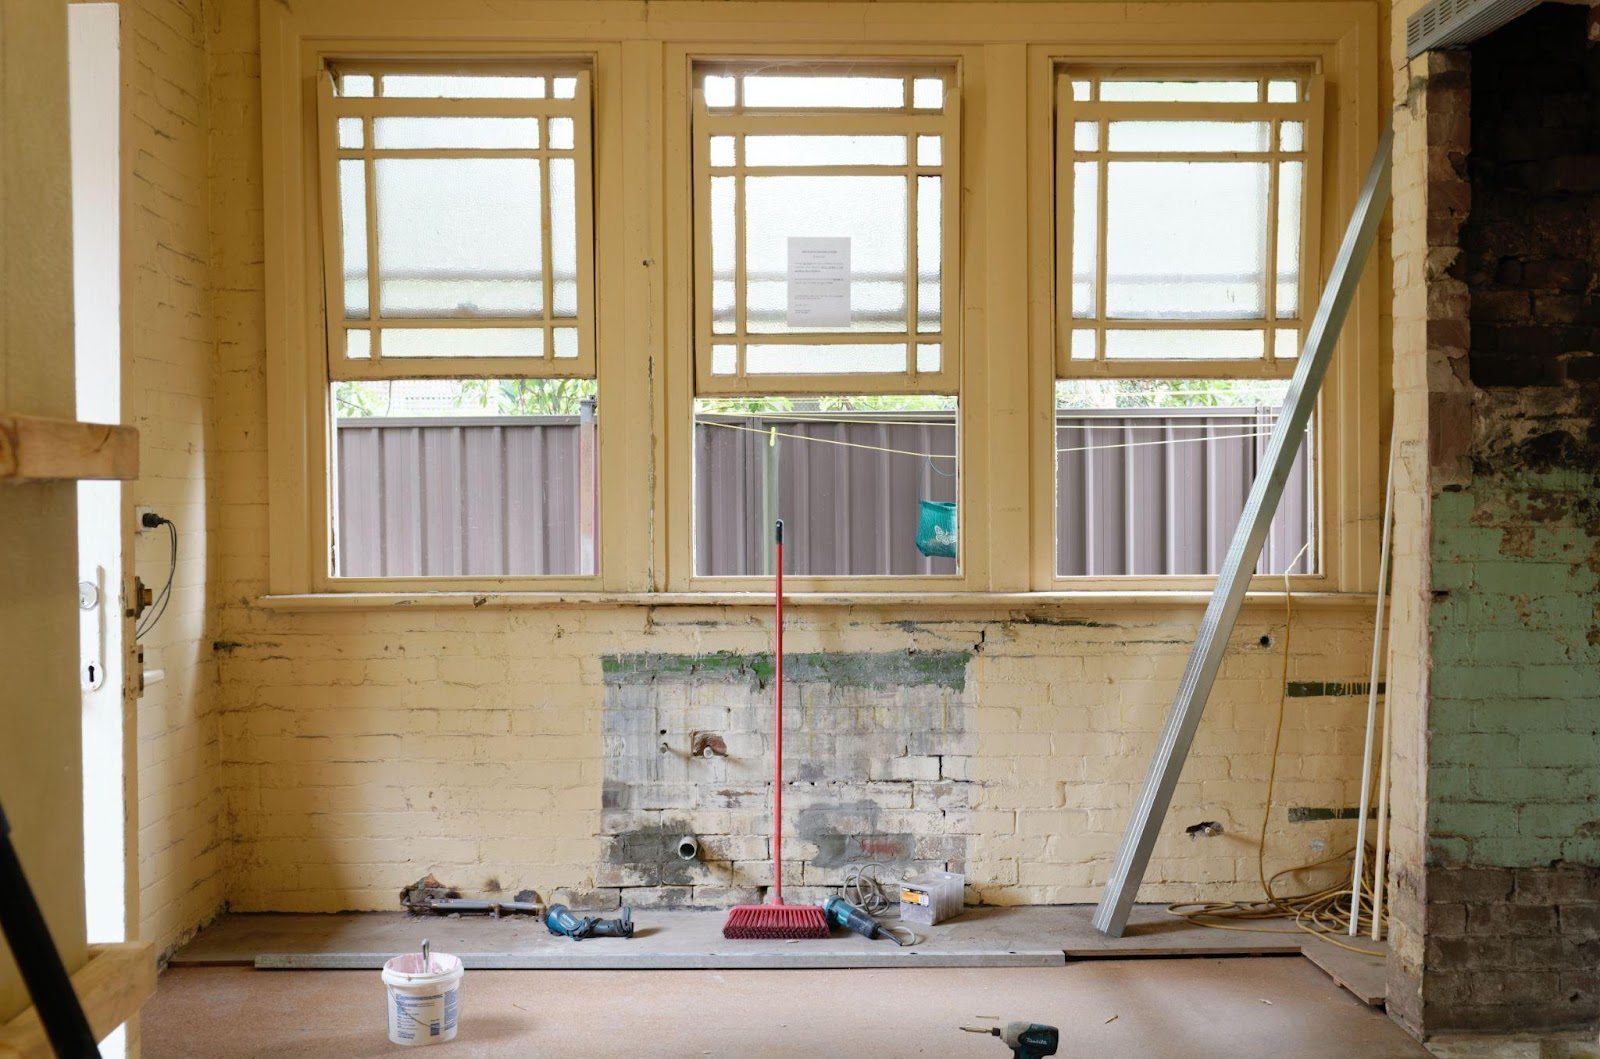
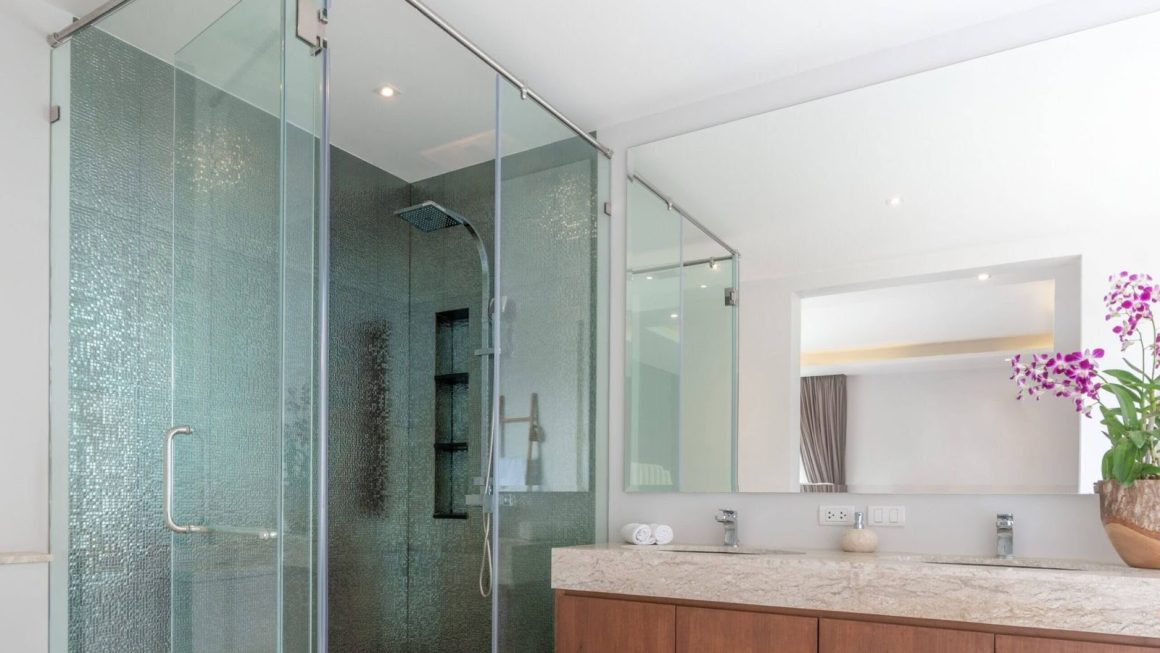
Home renovation is an exciting project that keeps you on your toes until you’re done with what you had planned. Watching the final result of your hard work and planning is worth the effort and wait – but that is not where the home renovation ends for you.
So what comes next after you’re done with the home remodeling? Of course, moving in! The happiest moment of the whole experience. But first, you must ensure that your home is clean enough to settle in. At this point, you have to decide whether you hire a professional to do this task or DIY. So, let us move on to create a checklist to help you with post-renovation cleaning.
Hire A Professional Cleaner
Are you already feeling tired after the renovation phase? Don’t have spare time to clean the post-renovation waste? Don’t worry; you can get help from professional service providers who are experts in cleaning up the renovated space without taking too much time.
For instance, you just moved to the northwestern region of the Silver State and renovated a new place but are unsure about the cleaning phase. You feel confused and can’t figure out where to start with the post-renovation cleaning or how to choose a professional cleaner to clear up the mess. You can google “commercial cleaning services Reno Lake Tahoe Nevada” as a starting point. You will easily find a good commercial cleaning service near you that can make a package suited to your needs.
Check Your Cleaning Inventory
Have you bought the tools you require for clearing away the mess created after a major renovation? A crucial step to cleaning your home post renovations is buying or stocking adequate cleaning supplies. Some handy tools for cleaning are disinfectants, cleaning agents, spray bottles, cleaning brushes, dryer sheets, microfiber cloths, brooms, dustpans, window sill cleaners, and vacuum attachments. Use a purpose-built tool for each space to achieve the desired outcomes without too much work. Also, ensure you use protective gear like a face mask and hand gloves as chemical substances in disinfectants can cause itching and irritation.
Check the Filters of Air Vents
During home renovation projects, it is natural to see debris clog the filters of the air vents. Use clean water or a soap-based solution to clear the filters of the HVAC systems and kitchen hoods. Inhaling in dirty air can trigger allergies and respiratory diseases, so clean these things properly. In the case of old or hard-to-clean filters, you can also replace them. Generally, it is best to replace the air filter every one or three months, depending on your environment. It is an important step; otherwise, your cleaning efforts can be wasted if you forget to complete this step.
Clean the Hard Surfaces
No matter how appealing dry dusting looks, use a damp or microfiber cloth to clean the dirty surfaces. Start from ceilings and walls, wrap the damp cloth around the wiper and go ahead with cleaning. In the case of wallpaper, be careful as constant scrubbing can peel off the sheet.
Countertops and cabinet surfaces are the favorite spots for bacteria. Make sure to clean these areas multiple times with cleaning agents. You can also use home remedies to wipe off the dust and remove the stains of construction materials from hard surfaces. For instance, use alcohol, or nail paint remover to clean the adhesives from glass surfaces.
Clean the Floors
Start by collecting the waste materials and remains of construction materials like broken pieces of bricks, tiles, clumps of concrete, cardboard waste, glass, wooden leftovers, etc. Pick these items by hand or mop the floor. Next, wash the floors and use a solution of baking soda and vinegar to remove the stains of paint residues, varnishes, other construction materials, etc. You can also vacuum the floor later to ensure the complete removal of waste materials from the site. Next, use a dryer sheet for cleaning ledges and baseboards. It collects dirt particles quickly and efficiently. Make sure to dispose of the waste after collecting it in the nearby landfill. You can also reuse some items like cardboard papers for packing purposes. Store these items in a storage area for future use.
Vacuum Carpets & Upholstery
After cleaning all the other areas, it’s time to move to your furniture and other household items. Vacuum your upholstered furniture, curtains, and carpeted floors. Look out for stains of construction materials like varnishes, adhesives, and paint and use acetone to remove them. Give a hard shake to soft furnishings, curtains, and carpets; it helps in removing debris. These things can quickly become a safe place for bacteria and germs, leading to itching and irritation whenever you sit or touch them. Moreover, the messy look of carpets, curtains, and sofas can waste all your renovation efforts. It will not leave a good impression on visitors.
Final Thoughts
Post renovation cleaning is as essential as getting the repairing job done right. Of course, no one wants to suffer from health issues caused by unclean environments after moving in. It also makes the whole experience rewarding for you and your loved ones. Invest your time to figure out which approach is best for you to hire a cleaning service or clean the post-renovation mess by yourself.


