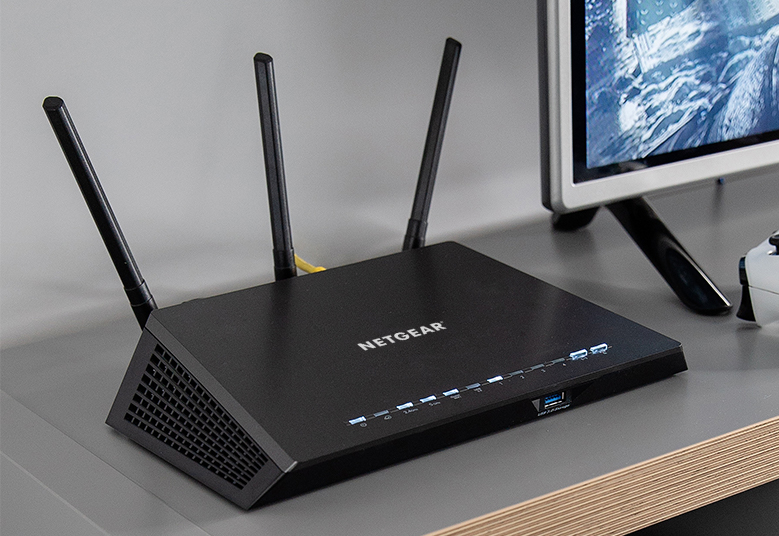
Netgear routers are well known for their advanced and amazing features that they provide users. Netgear gives users an upper hand on enabling guest network on their Netgear router as compared to other routers available in the market.
With the help of a Netgear router, users can easily set up a guest network and provide a quick way to access the Internet to the visitors without sharing the Netgear router admin password. It provides you the safest way to share your Internet services as you can easily limit the number of users and what they can access. Even, you can avoid visitors accessing local resources and prevent malware that may spread through the guest device.
Connecting through the guest network is as simple as connecting to the WiFi network. The users require the network name and password. The user can often find the free guest network in malls, parks, or other public places. Therefore, it’s quite beneficial for you to create a guest network on your WiFi network at home. If you don’t know how to set up a Netgear guest network then, don’t panic. Here, we have come up with simple steps to configure the guest getwork on your Netgear device. Just go through the information carefully, you may find it helpful.
Steps to Set Up Netgear Guest Network
Using Web Interface
- Turn on your WiFi router and your computer device.
- Launch a preferred web browser on your computer system. Ensure that the web browser you are using is updated to its latest version.
- Type the Netgear router default web address in the address field and hit the Enter button.
- Then, you’ll be directed to the Netgear router login page where you are required to enter the default username and password.
Important Note: For the default username and password, check the user manual which comes along with the Netgear WiFi router at the time of purchase.
- Click the Log In button.
- Once you have successfully logged in, you will see the Netgear setup wizard.
- Then, browse your cursor to the Settings tab.
- Under the Settings tab, select Guest Network.
- Go to the 2.5 GHz or 5GHz options to configure the guest network for these channels.
- Now, checkmark the Enable SSID Broadcast button located on the screen.
- You are required to type the guest network name which you want to set in the respective field.
Important Note: You can create a guest network name up to 32 characters and it is case sensitive.
- Choose a security option. Else, the default security option will be selected i.e. WPA2.
- Lastly, you need to click the Apply button to save the settings you have made.
Finally, the guest network on your Netgear Nighthawk is configured using the web interface. Moreover, smartphone users can also set up a Netgear guest network using the Netgear Nighthawk app. Here, we have shed light on the step-by-step instructions to set up a guest network via the Nighthawk app.
Important Note: Netgear Nighthawk app is available for both iOS and Android users. They can download the Nighthawk app from their respective app store.
Using Netgear Nighthawk App
- Once downloaded, you are required to launch the Netgear Nighthawk app on your smartphone.
- Access Netgear Nighthawk setup wizard using Netgear router default username and password.
- Once logged in, tap the Guest WiFi on your mobile device.
- Choose a WiFi band (2.5 or 5 GHz).
- Set a network name and password for the guest network.
- Then, tap the Apply button to save the settings you made.
Now, your visitors can access Internet services through the guest network without any difficulty.
In this way, the users can easily create a guest network on their Netgear Nighthawk routers without any difficulty. Visit reset zong device


